
I do need to apologize for the pictures though. It was rainy and overcast outside, therefore making my space darker (the over head light didn't seem to help?) and the pictures darker. I did lighten them as best I could, and that is why in a few my skin looks like it is glowing.


Grab a wreath form. Either of these are ones I have used. You just have to decide if you want to pay the additional cost for the one with pipe cleaners already attached, or if you want to do it yourself. For my fall wreath here, I used one with the pipe cleaners already attached. If you choose to add the pipe cleaners, I twist them onto the frame and then secure with hot glue before I begin so they don't slide around.

Start by bunching one end of the mesh together and then twisting the ties around it to secure. I start with the inside ring, work my way from tie to tie counter clockwise.Try to keep the length between ties consistent. Not too puffy or your wreath picks won't be able to be seen.

Next up is the ribbon. I like to use at least 2, but mostly 3 different patterns of ribbon. On this wreath I used 2. I lay them on top of each other and 'bounce' it around the wreath between the inner and outer circles.


I don't know what to call these next things... but on some of my wreaths I like to cut 2-3 strips of ribbon, lay them on top of each other, then fan them out (see post pic). As you can see here, I cut the ribbon, and then fold it in half to get it even. I attach it the same way by using the twisty ties on the wreath form.

We are moving on to the wreath pick stage. But first...In massage therapy school they explained to us that the brain likes things in 3's. I have used this concept in decorating. so when you plan out your wreath, make triangles. Once you make a triangle, pretend like it isn't there and add another (see the copper berries?). I think this makes it more appealing to the eye.

I forgot to take a picture of this next step, so bear with me. Take your wreath pick. I usually cut them apart and piece them back together. Like you see there, the leaves and the acorns are different picks put together. I use floral tape to wrap the stems.Then you can wrap it with wire to help secure it to the form, in addition to using the twisty ties.


You can make an ornament/pick out of most anything. As you can see here, I wrapped wire at the base of a pine cone, and I placed wire through hot glue on a decorative foam pumpkin. With the hot glue, let it cool completely before attaching it, as the wire can slide out of the glue.

Once you are done placing ribbon bunches, wreath picks, and ornaments you can trim the ribbon bunches. I then go through the wreath to see if there is anything unsightly showing through. Like this! I put a bunch of hot glue in there and squeeze the mesh together to hide stems and wires. Be careful though, since this is a netting, the hot glue can seep through and burn your fingers, so I now use clamps if I need too.

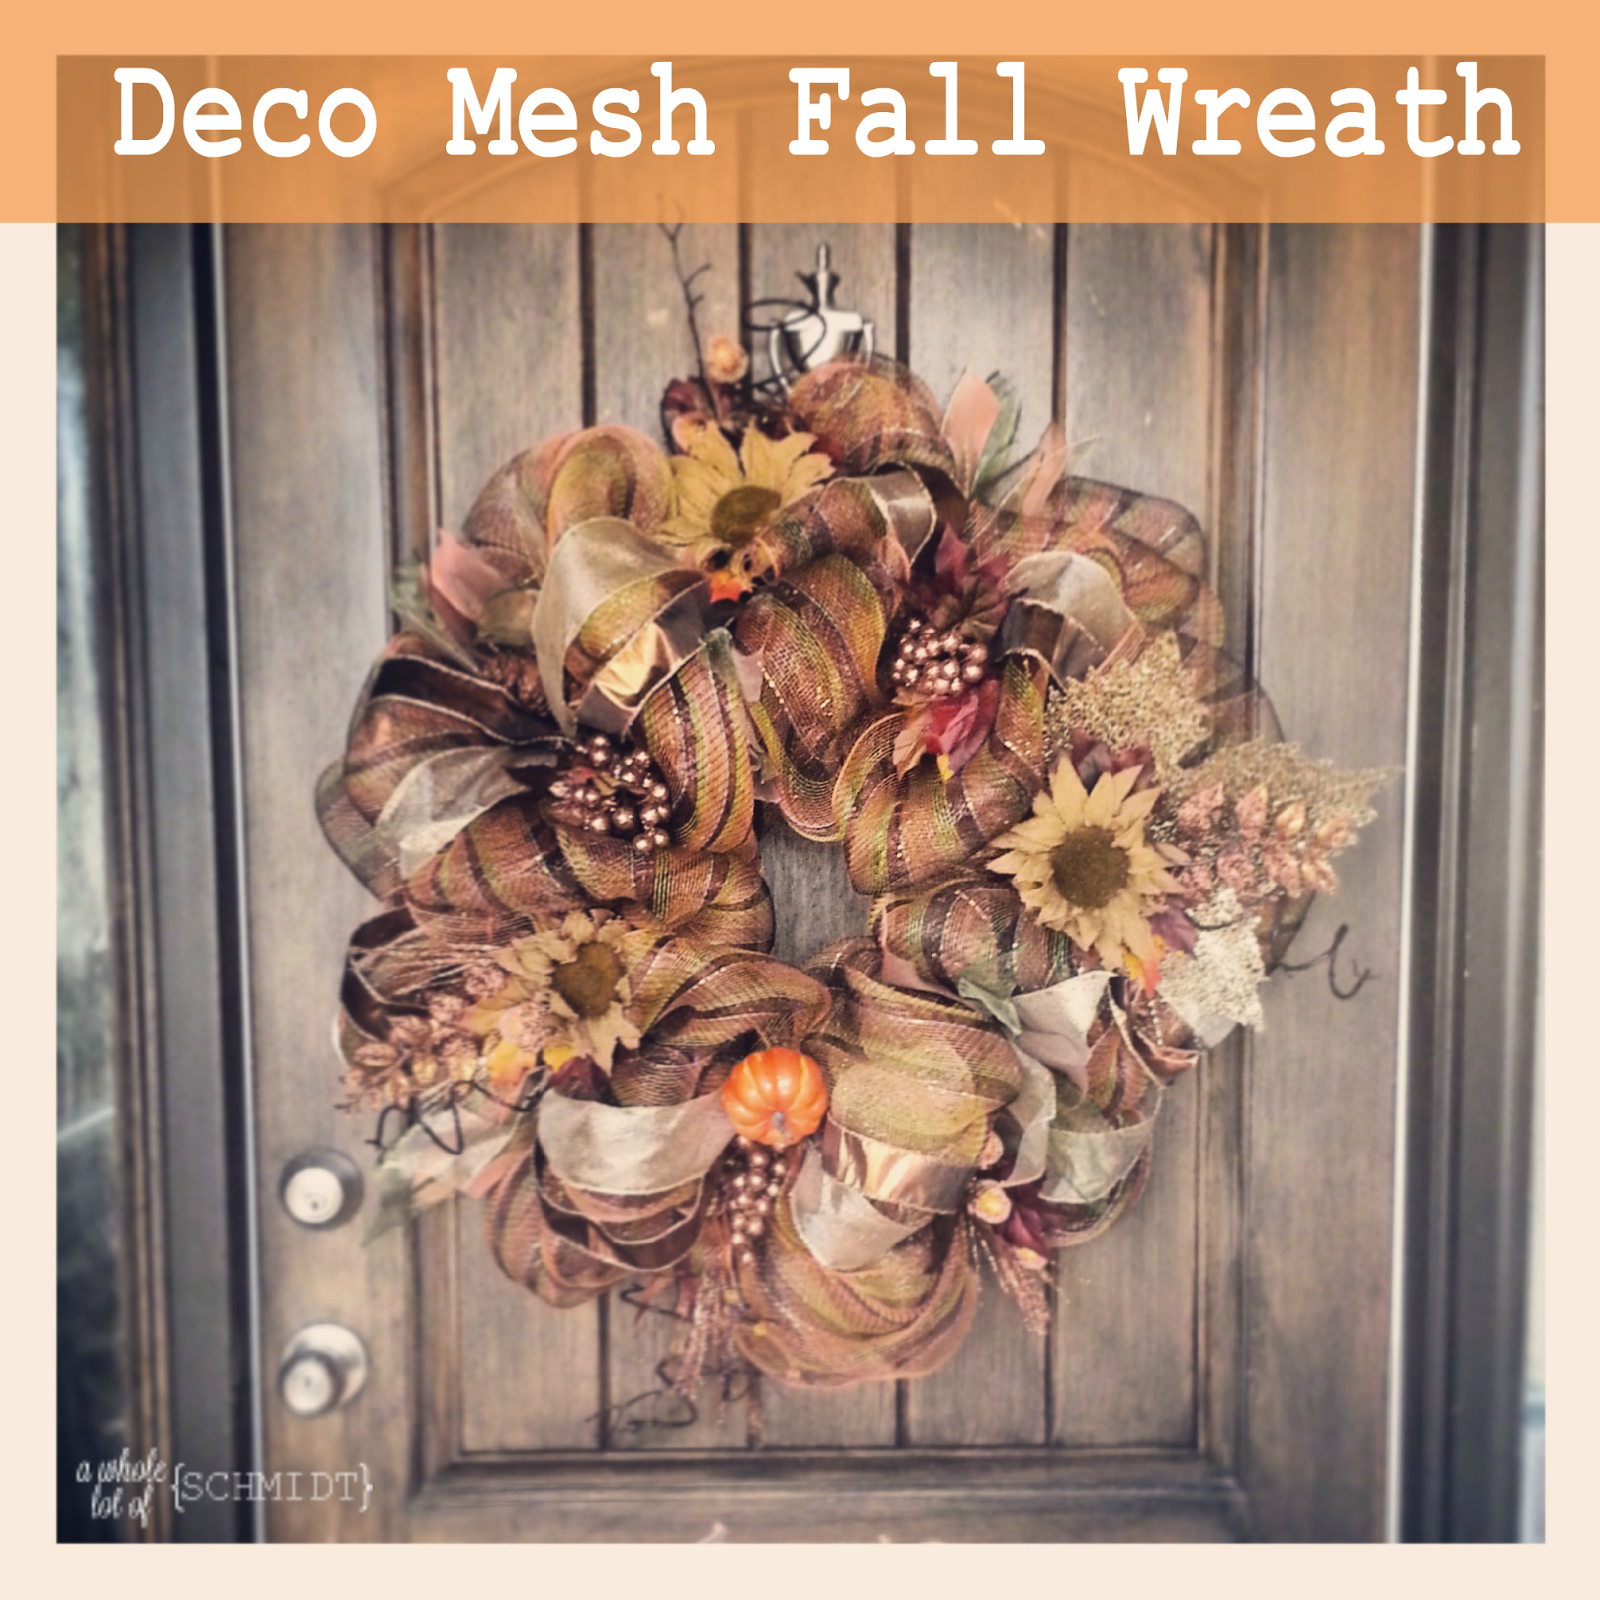
And there you have it. A basic tutorial on how to make a deco mesh wreath. You can also go here, and here if you need visual help.
Linking up to:


Once you are done placing ribbon bunches, wreath picks, and ornaments you can trim the ribbon bunches. I then go through the wreath to see if there is anything unsightly showing through. Like this! I put a bunch of hot glue in there and squeeze the mesh together to hide stems and wires. Be careful though, since this is a netting, the hot glue can seep through and burn your fingers, so I now use clamps if I need too.

And there you have it. A basic tutorial on how to make a deco mesh wreath. You can also go here, and here if you need visual help.
Linking up to:
2 comments:
gorgeous!
Thank you so much!
Post a Comment